I have been busy making another cushion this afternoon and as I promised a friend to explain how I make my cushions here is an online tutorial.
I pulled some fabrics and trim together and raided my scrap bag for some quilt wadding and calico for lining. Cushions are a great way to use up scraps.
Earlier in the morning whilst walking Poppy and Blue with my beloved Ray I decided the theme for the day was hearts as my own heart was so full of love for my husband and fur babies.
I am using a 14" square cushion so I cut my front fabric 16" square.
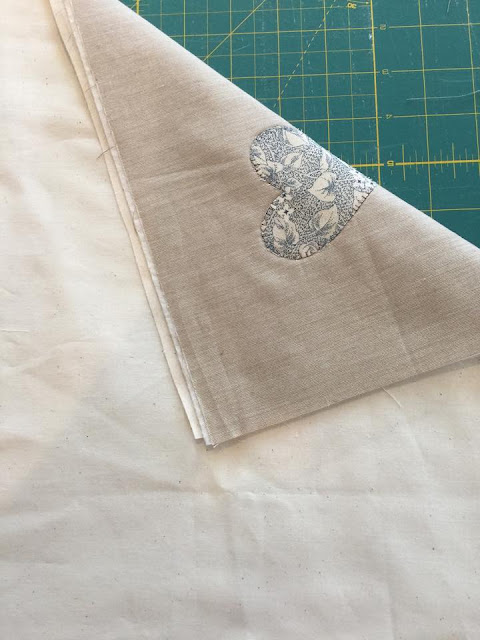
I drew some hearts of varying sizes onto double sided interfacing. I then placed the hearts onto the the wrong side of the fabric and using the iron fused it into place.
A link to a video showing how to do this and stitch them into place can be found
here
I then cut out two pieces for my cushion back.
13" x 16" and 9" x 16". With my sewing machine I overcast along one 16" edge on each piece. Using an iron I pressed a 3" single hem along the overcast 16" side on both pieces.
Placing the two pieces overlapping
They will measure 16" square.
Next I cut three pieces of quilt wadding and three pieces of calico 16" square, 10" x 16" and 6" x 16". The calico is optional, however, I like a high finish on my work and I think cushions look much nicer lined.
I fused the hearts into place on the back piece.
Place only the quilt wadding behind the front piece and the larger back piece and applique the hearts.
I used a blanket stitch with variegated thread. I then attached the trim buttons.
Place the calico (if opted for) behind the fabric and quilt wadding on all three pieces.
Stitch buttonholes into place on the smaller back piece. I used my sewing machine and buttonhole foot . A how to video tutorial can be found
here.
Next make your binding. I used strips of 2.5".
Here is a good video tutorial on binding.
Make your buttons. I am using 5 x 23mm self covering metal buttons.
Here is a how to video tutorial. When cutting your fabric for buttons try to centre the pattern design to show to best effect.
We are ready to assemble our cushion. I have tried to show all the tools I am using.
Place the front piece face down and the bottom back piece face up.
Lay the top back piece face up overlapping the bottom back. I have matched up the pattern in the fabric.
Pin into place. Use lots of pins - it is important to secure your fabric well as without pinning the layers will move as you stitch.
Using a quarter inch foot stitch around the four sides. Remove pins and add the binding as shown in the earlier video tutorial.
Slit open your buttonholes and sew on your buttons.
Check your work for loose threads and then pop in your cushion filler.
When I gave this cushion to my husband he said - "but I haven't got a wooden heart" !!!!!


